Overview
Teable offers different plans for self-hosted deployments, each with its own set of features. To unlock these features, you need to first install Teable, get your Instance ID, subscribe to a plan, and then activate your instance with a license key.Step 1: Install Teable
Before subscribing to a plan, you need to have Teable installed and running on your server. If you haven’t installed Teable yet, please follow one of these installation guides:- Docker Deployment (Recommended for quick setup)
- Full-featured platform (AI features and App Builder, Docker or Kubernetes)
Make sure your Teable instance is up and running before proceeding to the next steps.
Step 2: Access the Admin Panel
After successfully installing Teable:- Log in to your self-hosted Teable instance
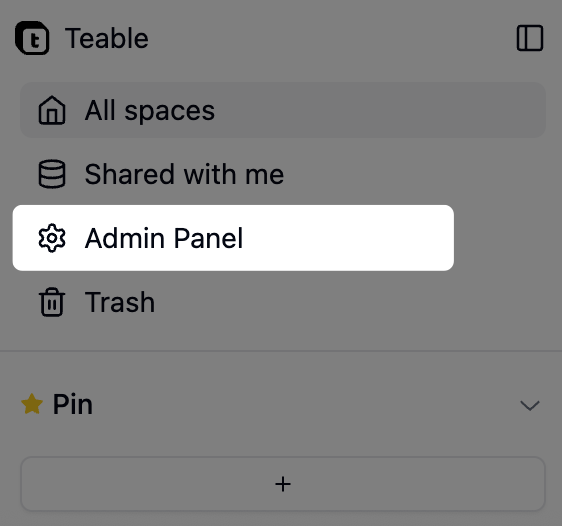
- Navigate to the Admin Panel
- You can access the Admin Panel from the user menu
If this is your first time opening the instance, sign up on the instance URL first. Teable does not provide a default administrator account; the first registered user becomes the instance administrator.
Step 3: Copy Your Instance ID
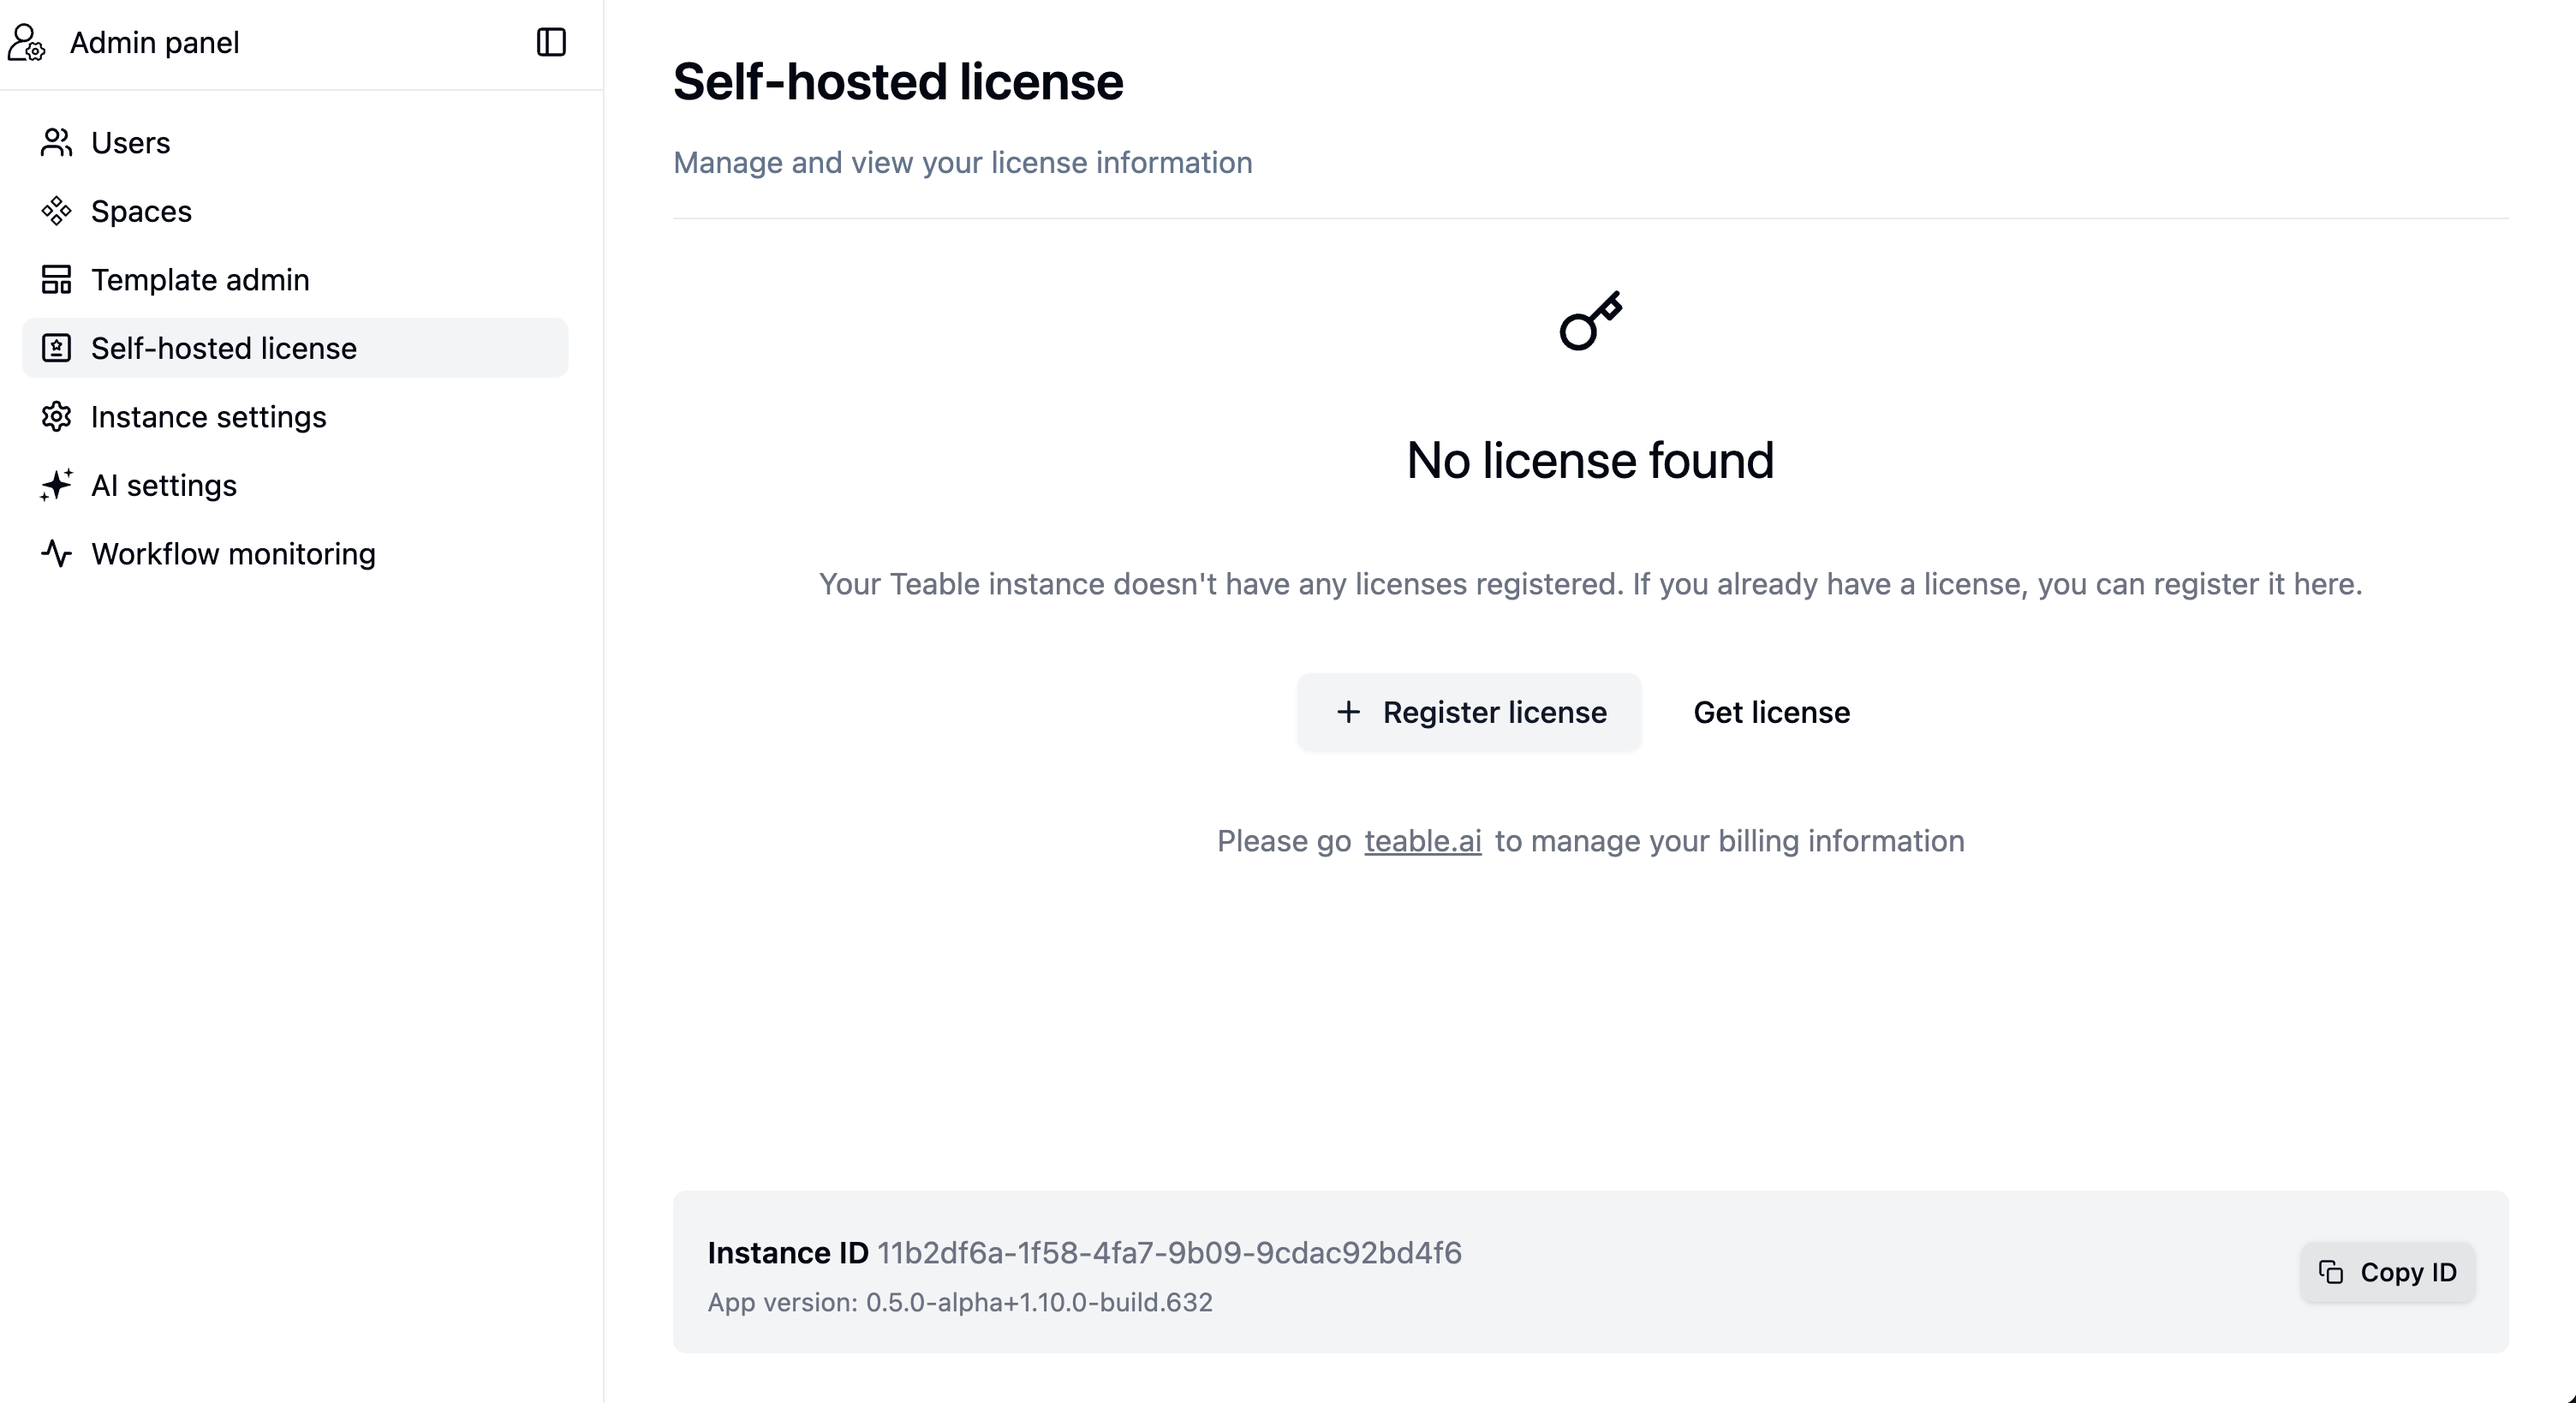
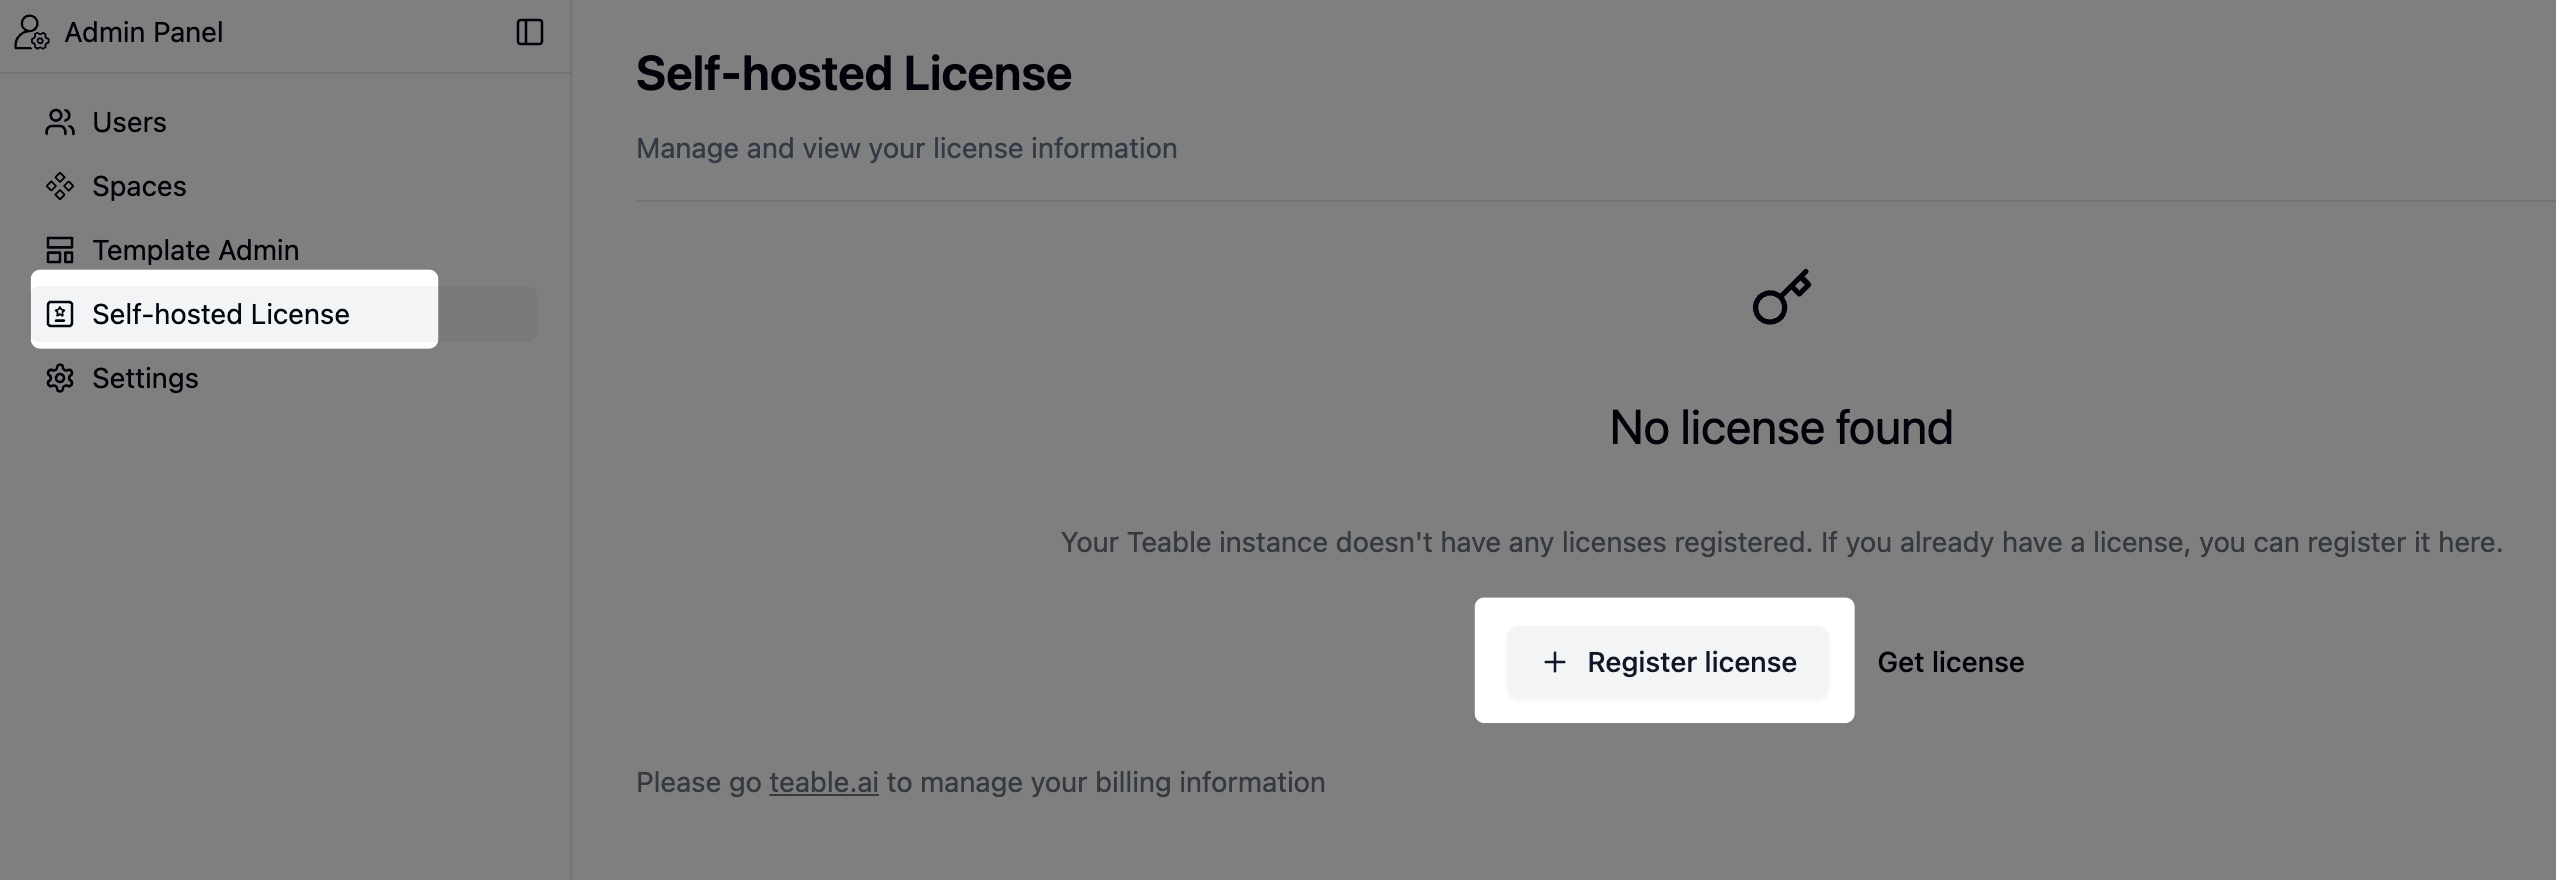
In the Admin Panel, navigate to Self-hosted License to find your unique Instance ID:- Go to Admin Panel → Self-hosted License
- Click the Copy button to copy your Instance ID
- Keep this Instance ID ready - you’ll need it during the subscription process

Your Instance ID is a unique identifier for your self-hosted installation. It’s required to bind your license to your specific instance.
Step 4: Subscribe to a Plan
Now that you have your Instance ID, you can proceed to subscribe:- Visit the Teable Self-Hosted Pricing Page
- Compare features across different plans
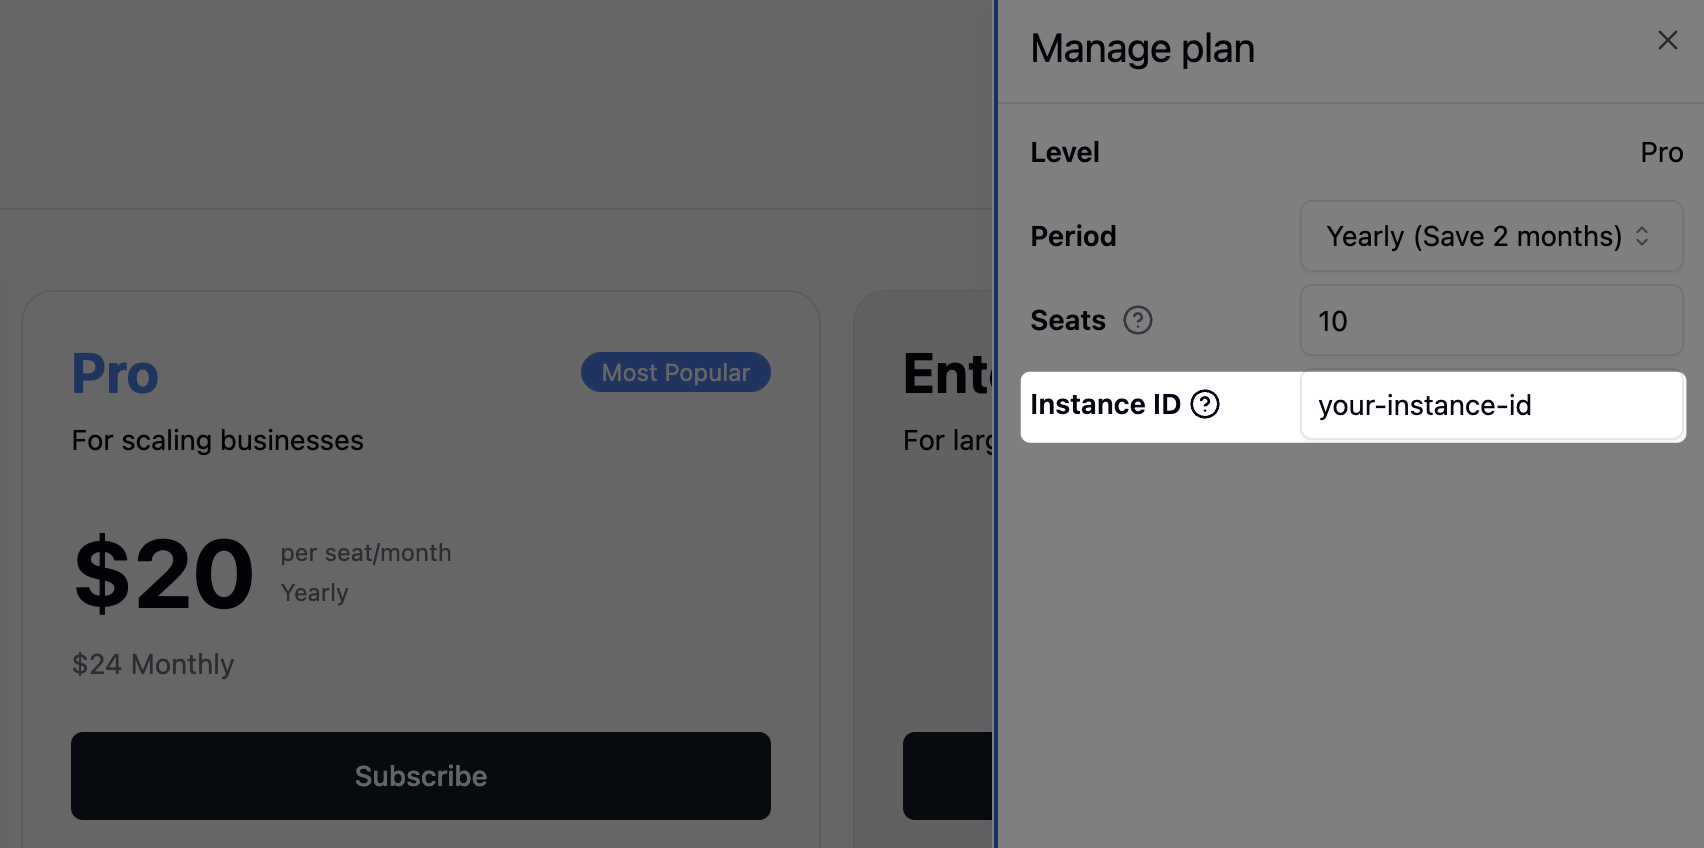
- Choose the plan that meets your requirements
- Complete the subscription process
- During subscription, you’ll be asked to provide your Instance ID
- After successful subscription, you’ll receive a License Key
Make sure to copy your License Key immediately after subscription. You’ll need it in the next step.
Step 5: Activate Your License
Once you have your License Key, return to your Teable instance to activate it:- Go back to the Admin Panel in your self-hosted Teable instance
- Navigate to Self-hosted License section
- Paste your License Key into the activation field
- Click the activation button
- Wait for the confirmation message
Step 6: Manage Your License
You can view and manage your licenses at any time:- Visit the License Management Page
- Here you can:
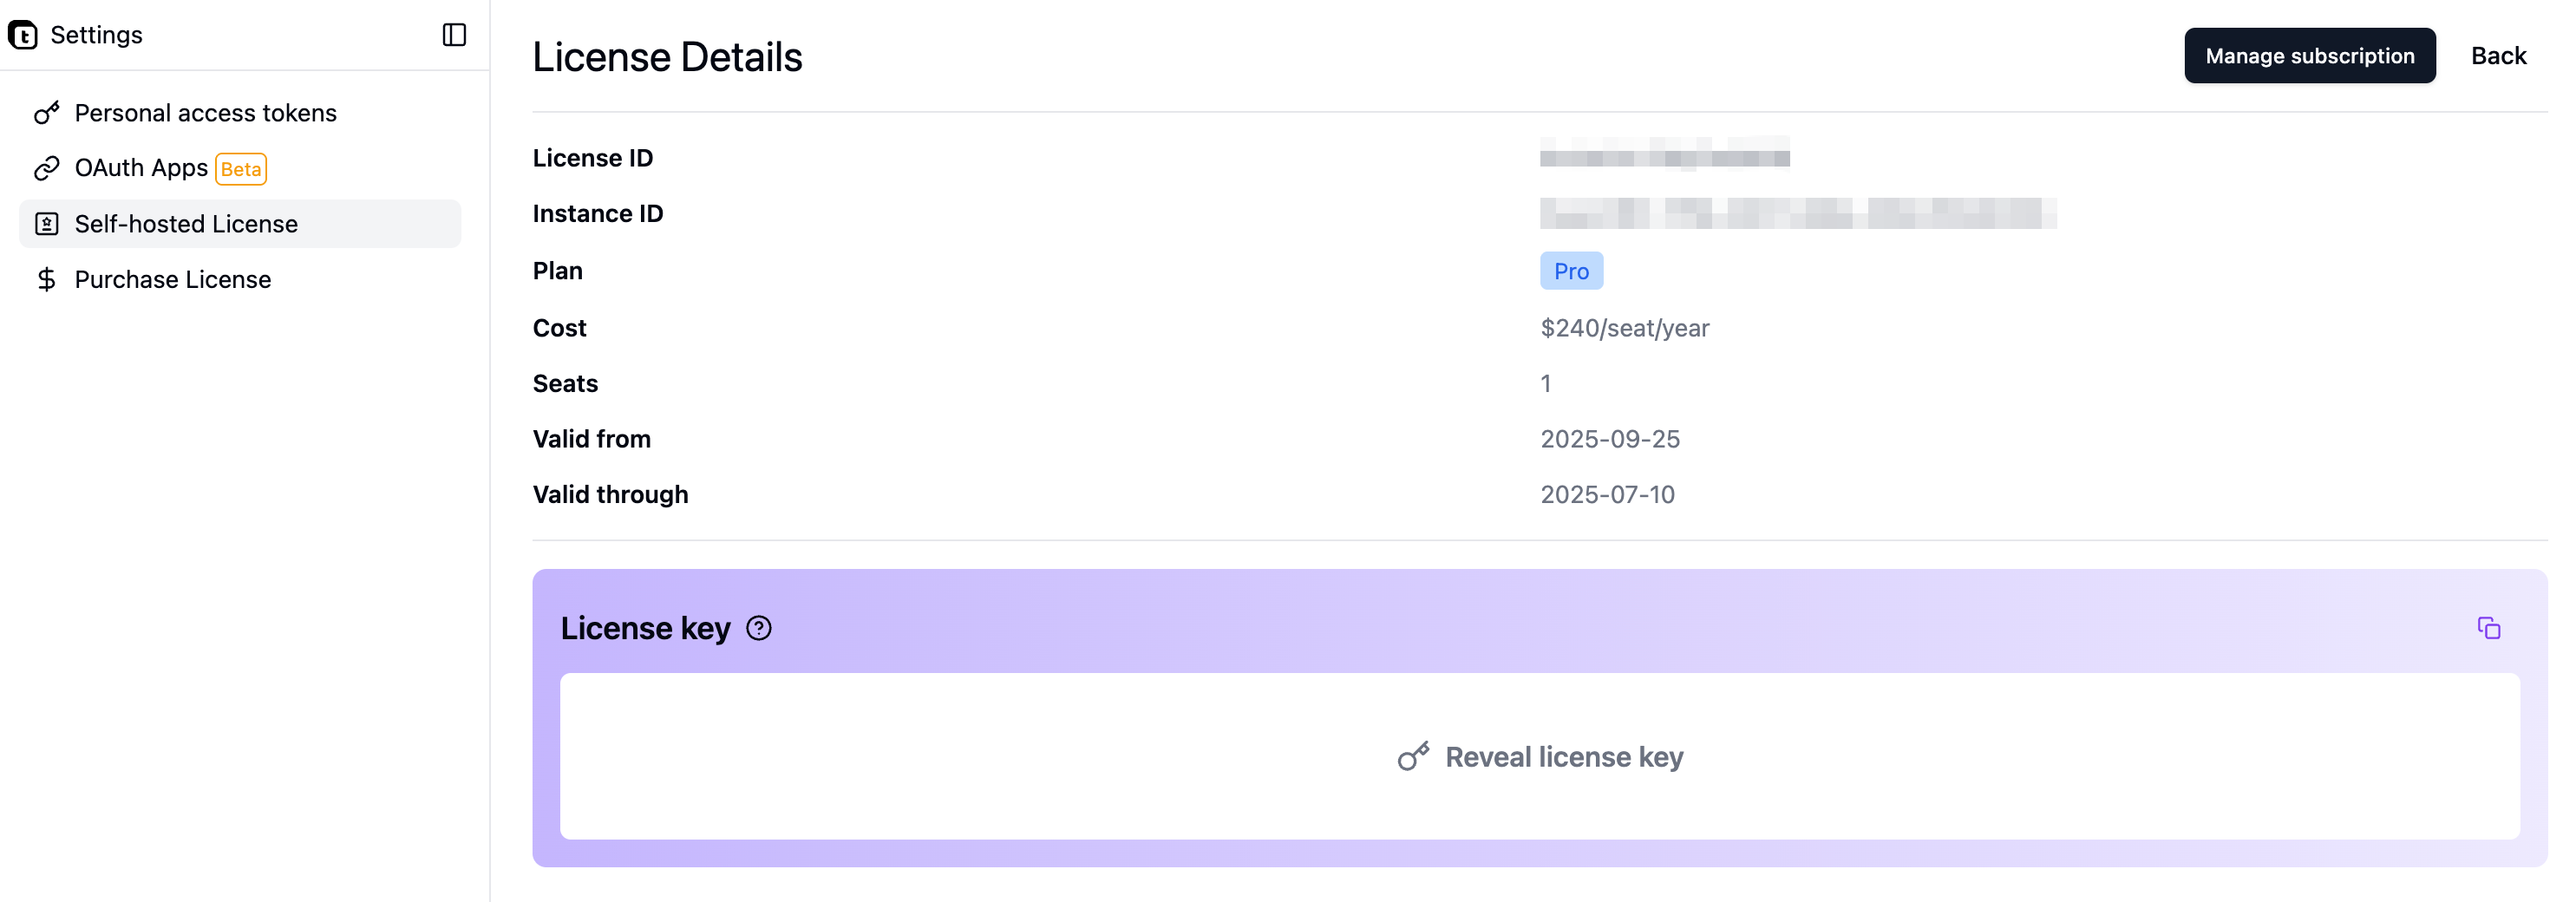
- View all your active licenses
- Check license expiration dates
- Renew or upgrade your licenses
- View usage details
- Manage multiple instances if you have more than one
Auto-renew Your License
When registering or updating a license in Admin Panel → Self-hosted License, turn on Auto-renew if your instance can reach the Teable license server: Teable tests the connection before saving the setting, renews the license after each billing period, shows administrators a banner with Retry if renewal fails, and still requires manual updates when the instance cannot reach Teable Cloud.Frequently Asked Questions
Will the Instance ID change when I update the application?
Will the Instance ID change when I update the application?
No, your Instance ID remains constant throughout application updates. It’s a permanent identifier for your self-hosted installation.
How do I keep my Instance ID unchanged when migrating environments?
How do I keep my Instance ID unchanged when migrating environments?
When migrating environments, perform a complete database migration. This ensures your Instance ID remains unchanged, as the Instance ID is stored in the database. Simply migrate your entire PostgreSQL database to the new environment.
What happens if my user count exceeds the subscribed seats?
What happens if my user count exceeds the subscribed seats?
If your billable user count exceeds the subscribed seats in a paid plan, usage will be restricted and users will receive blocking notifications when attempting to access features. To restore full functionality, you’ll need to upgrade your subscription to accommodate more seats.Billable users are counted at the instance level and include users with Editor role or higher (Owner, Creator, Editor). Users with Commenter or Viewer (Read-only) roles are free and do not count towards your seat limit.Administrators can disable “Allow everyone to create new spaces” in Admin Panel → Instance settings to prevent users from creating spaces that add billable collaborators.
What happens when my subscription expires?
What happens when my subscription expires?
When your subscription expires, your Teable instance will revert to the basic version. However, all your data will be preserved and remain safe. Once you renew and reactivate your subscription, all premium features will be immediately restored.
When should I renew my subscription?
When should I renew my subscription?
Teable provides a 7-day grace period after subscription expiration. During this grace period:
- All features remain fully functional
- Administrators receive email reminders
- You have time to renew without service interruption
How do I backup my data?
How do I backup my data?
For Docker Compose deployments, you have several backup options:Option 1: Full Virtual Machine Backup (Recommended for simplicity)
- Regularly backup the entire virtual machine hosting Teable
- Provides complete system recovery capability
- Backup all Docker volumes defined in your
docker-compose.yaml - Use
docker volume lsto list volumes - Use
docker run --rm -v <volume_name>:/data -v $(pwd):/backup alpine tar czf /backup/<volume_name>.tar.gz /data
- PostgreSQL database: Backup using
pg_dump(contains all table data) - Redis database: Backup RDB file (contains automation queue data)
- Data directory: Backup the
teable-datavolume (contains all attachment files)
Troubleshooting
License activation failed
License activation failed
If your license activation fails, please check:
- The License Key is copied correctly without extra spaces
- The license hasn’t expired
Features not appearing after activation
Features not appearing after activation
If features don’t appear immediately after activation:
- Try refreshing your browser
- Clear your browser cache
- Verify the activation status in the License Management Page
- Check that your subscription is active and not expired
Next Steps
After activating your license, you can:- Configure additional features available in your plan
- Set up team members and permissions
- Explore enterprise features