This guide uses a sales base with three tables: Customers, Sales Orders,
and Products. The goal is to let each role work with the data it needs
without exposing the whole base.
| Role | Access goal |
|---|
| Sales Director | View customer and sales data, comment on products, and avoid changing product prices. |
| Sales Rep | View and update only their own customers and orders, create new customers, and avoid deleting completed orders. |
| Data Entry Clerk | Add new products without seeing existing products, customers, or orders. |
Turn on the Authority Matrix before relying on role permissions.

Create the Roles
Enable the Authority Matrix
Open the Authority Matrix page in the base and turn on the main switch. The
user who enables it is added as an administrator.
Add custom roles
Click Add role and create Sales Director, Sales Rep, and Data Entry Clerk.
 The Sales Director needs broad visibility, but product prices should stay
protected from accidental edits.
The Sales Director needs broad visibility, but product prices should stay
protected from accidental edits.
| Node | Setting |
|---|
| Customers | Set the table to Can edit. Keep record and field permissions open so the role can view customer data. |
| Sales Orders | Set the table to Can edit. Keep record and field permissions open so the role can review sales activity. |
| Products | Set the table to Can edit, then allow only Read record and Comment on record in record permissions. |
 Assign members from the role list with
 Add user or Add from organization,
then make sure the role switch is enabled.
 After setup, a Sales Director can review customer and order data, comment on
products, and avoid changing product records.
After setup, a Sales Director can review customer and order data, comment on
products, and avoid changing product records.
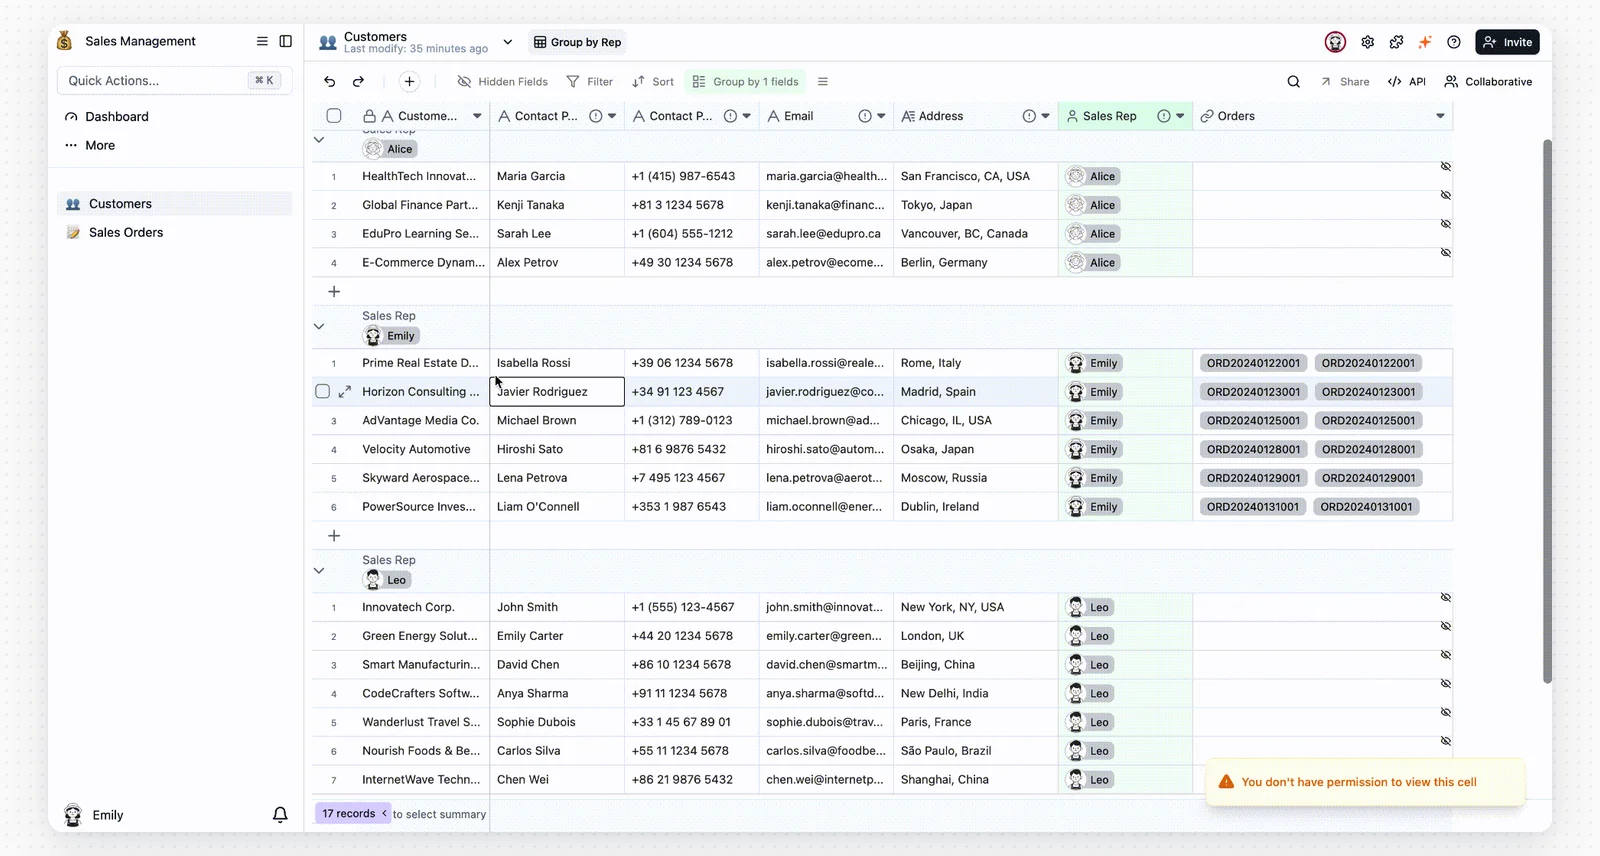
 The Sales Rep role uses record filters so each rep works only with records
where they are the owner.
The Sales Rep role uses record filters so each rep works only with records
where they are the owner.
Customers
Set Customers to Can edit.
| Permission area | Setting |
|---|
| Record permissions | Choose records that match specific conditions. Add a filter such as Sales Rep is Me (current user). |
| Record operations | Allow Read record, Update record, and Create record. Leave Delete record off if reps should not delete customer records. |


Sales Orders
Set Sales Orders to Can edit.
| Permission area | Setting |
|---|
| Record permissions | Use the same owner-based filter, such as Sales Rep is Me (current user). |
| Record operations | Allow Read record and Create record. Leave Update record and Delete record off if completed orders should stay unchanged. |
| Field permissions | Hide sensitive fields such as Payment Method by turning off Read record for that field. |
 Assign sales reps to the role and keep the role enabled.
 Each sales rep now sees only the customer and order records that match the
owner filter.
Each sales rep now sees only the customer and order records that match the
owner filter.

Configure Data Entry Clerk
The Data Entry Clerk only needs to add products.
| Node | Setting |
|---|
| Products | Set the table to Can edit. In record permissions, allow only Create record. |
| Product fields | If linked order data should stay hidden, turn off Read record for the Orders linked field. |
| Customers and Sales Orders | Keep these tables as No access. |
 Assign clerks to the role and keep the role enabled.
 After setup, the Data Entry Clerk can add new product records but cannot browse
existing product, customer, or order data.
After setup, the Data Entry Clerk can add new product records but cannot browse
existing product, customer, or order data.

Sales Review View
Use this setup for sales reviews: reps can see the full customer list, but can only edit customers they own.
Sales Rep role, then add a read-only role for company-wide
customer visibility. A rep can use the read-only role to view all customers and
use the Sales Rep role to update only the customers they own.
Create a Read-Only Role
Click Add role and create a read-only role, such as Global Customer Viewer.
Set Customers to Can edit. In record permissions, allow only Read record.
Do not enable Update record, Delete record, or Create record. Leave the
record filter empty so this role can view all customer records.

Assign Sales Reps
Return to the role list and add the sales reps who need review access to
Global Customer Viewer.
 When a user has both
 Sales Rep and Global Customer Viewer, Teable combines
the permissions. The user can view all customer records, but can update only
records allowed by the owner-based Sales Rep role.