Grid view is the most common view in Teable. Each record appears as a row, and each field appears as a column. Use it for daily data entry, bulk editing, sorting, filtering, and quick checks.
Use Cases
| Scenario | Recommended setup |
|---|
| Maintain data day to day | Enter, edit, copy, and paste records directly in the grid |
| Clean up many records | Combine filters, groups, sorts, and hidden fields |
| Check numeric data | Use selection statistics for average, filled count, and sum |
| Work with wide tables | Freeze key columns so identifying fields stay visible |
Create a Grid View
Every new table includes a grid view by default. To create another grid view for a specific workflow:
Open the view sidebar
Go to the target table and open the view list on the left.
Create a view
Click + at the top of the view sidebar and choose Grid view.
Name and save
Enter a view name, set the collaboration mode if needed, and create the view.
Display Settings
Manage Field Display
| Action | Description |
|---|
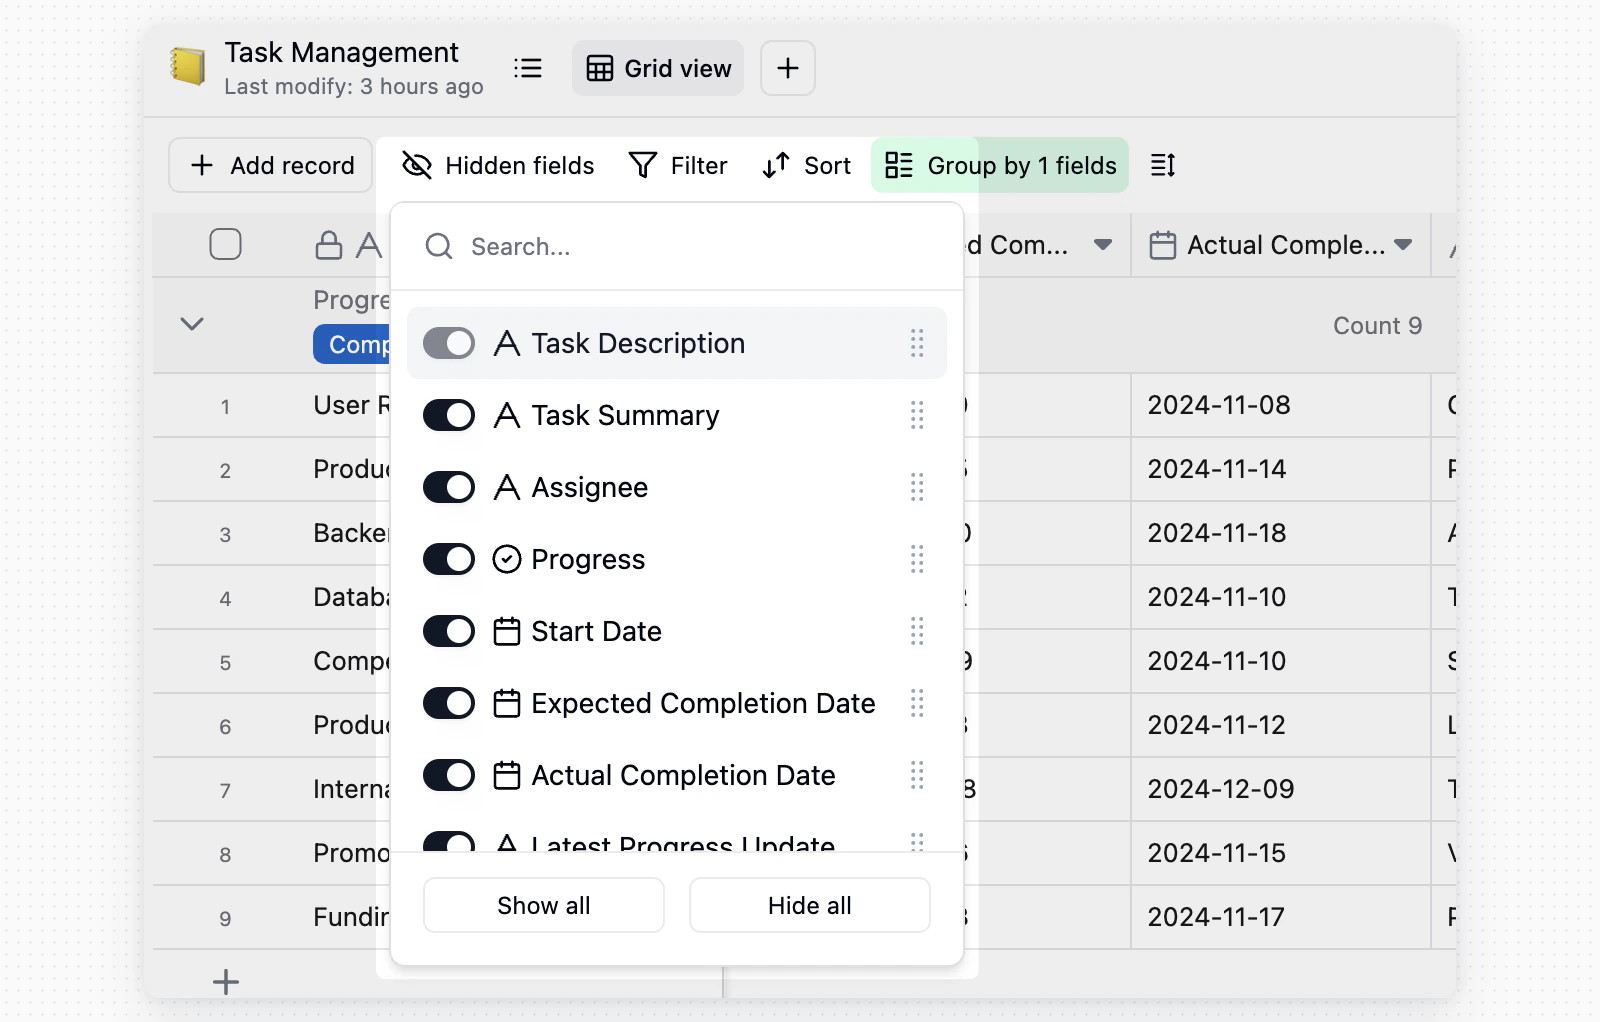
| Hide fields | Click Hidden fields in the toolbar and turn fields on or off |
| Reorder fields | Drag field headers left or right |
| Find fields | Search field names in the hidden fields panel when the table has many fields |
Adjust Row Height and Field Name Height
Click Row height in the toolbar to adjust the display density of the table view.

- Row height: Choose Short, Medium, Tall, or Extra tall to adjust record row height.
- Field name: Choose 1 line, 2 lines, or 3 lines to control the display height of column names in the table header.
Freeze Columns
When a table has many fields, freeze key columns so they stay visible while you scroll horizontally.

- Drag the freeze divider to freeze the columns on its left.

- Right-click a field header and choose Freeze up to this field to freeze that field and all fields to its left.
- Teable keeps a scrollable area to the right of frozen columns. If the current window is too narrow, Freeze up to this field is disabled or Teable shows Cannot freeze to this area because the current window is too narrow. Widen the window or freeze fewer columns.
Edit and Review Data
Edit and Work in Bulk
- Edit a cell: Click any cell and enter or change content.
- View long content: Double-click a cell, or select it and press Space, to open the full content.
- Fill by dragging: Drag the fill handle at the bottom-right corner of a selected cell to copy values downward.
Selection Statistics
 When you select a range of cells, Teable shows Average, Filled, and Sum for numeric values. Use this for quick checks on amounts, counts, and scores.
Notes
- Hidden fields, sorting, filtering, grouping, and similar settings apply only to the current view.
- To prevent accidental configuration changes, lock the view. Only users with permission can unlock or change it.
Last modified on July 7, 2026