

Creating a New Space
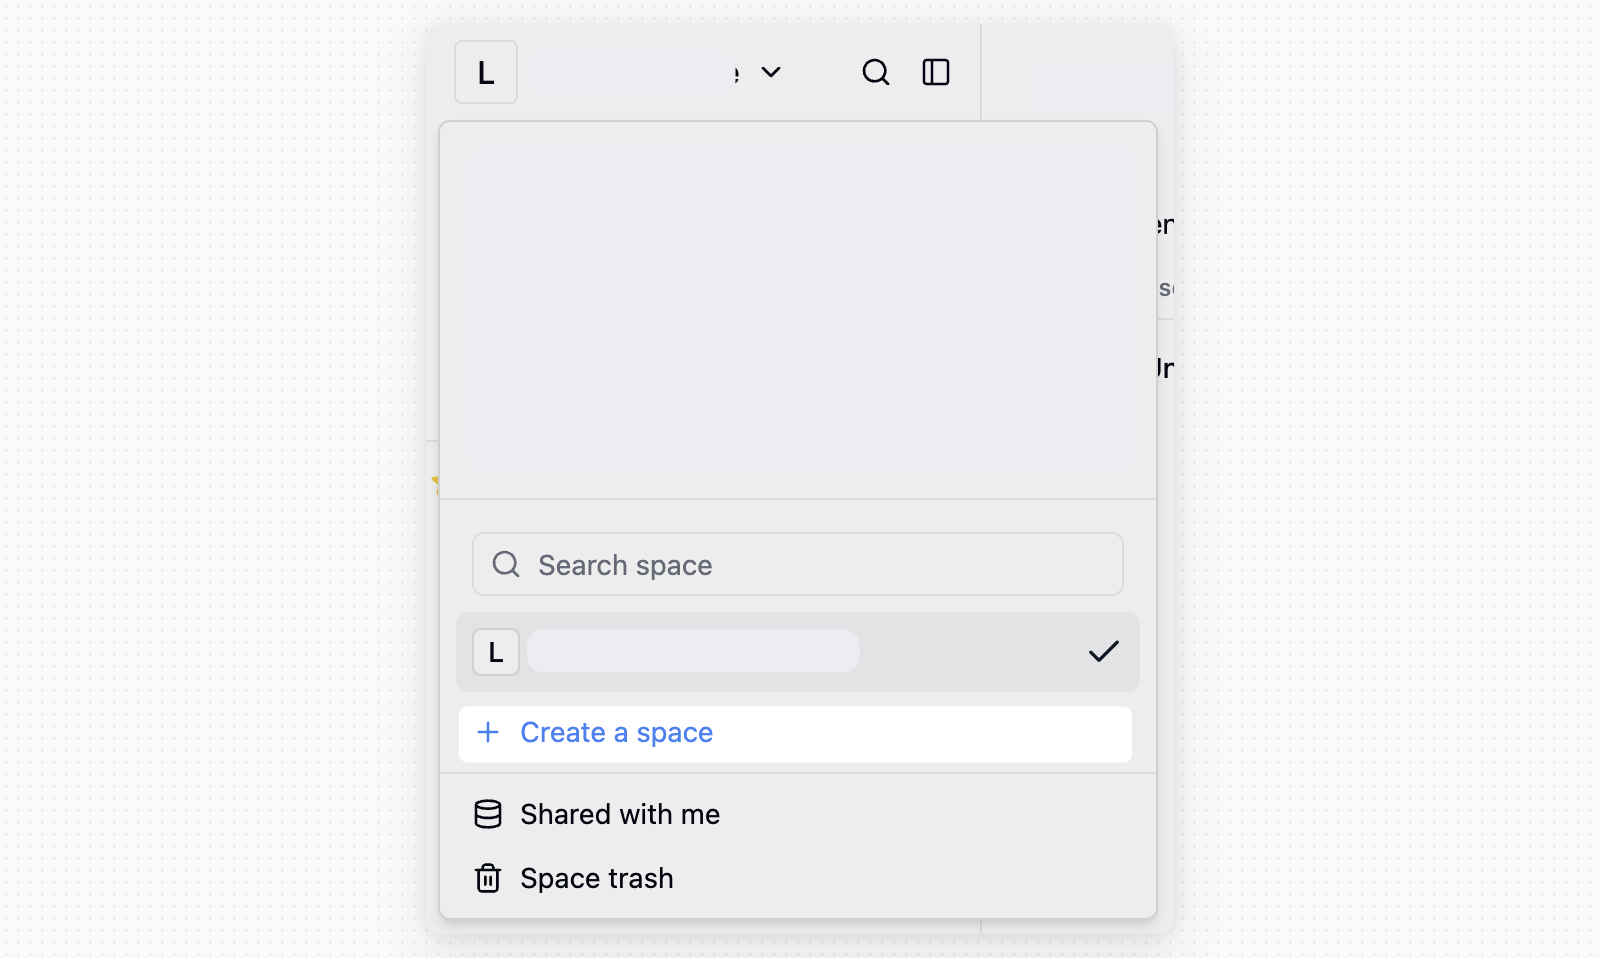
After logging into Teable, create a space from the space switcher:Each user can own up to two free spaces. If you already own two free spaces, you cannot create another free space.
- Click the current space name in the upper-left corner
- Click Create a space
- Enter the space name and confirm
Renaming a Space
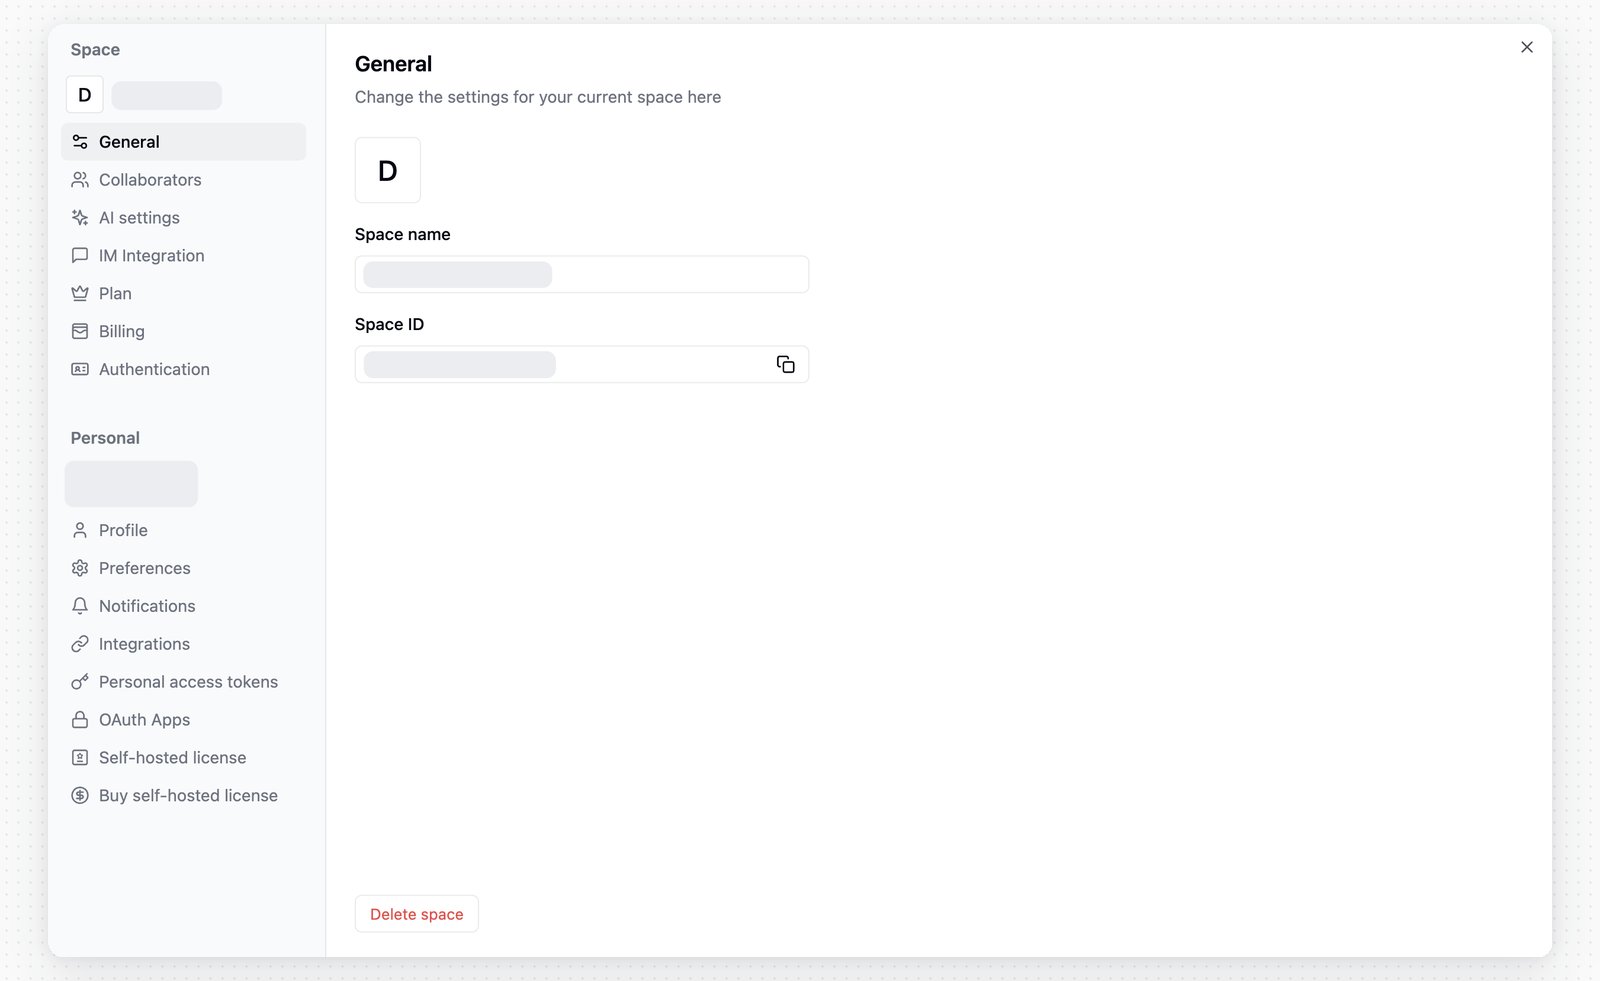
Users can change the space name from Space settings:- Click Settings in the space sidebar
- Open General under Space
- Edit Space name
Adding a Space Avatar
- Click Settings in the space sidebar
- Open General under Space
- Hover over the avatar and select an image
Deleting a Space
When necessary, you can also delete a space:- Click Settings in the space sidebar
- Open General under Space
- Click Delete space
Space Trash
Deleted spaces will go to the trash, where you can choose to empty the trash to permanently delete data or restore spaces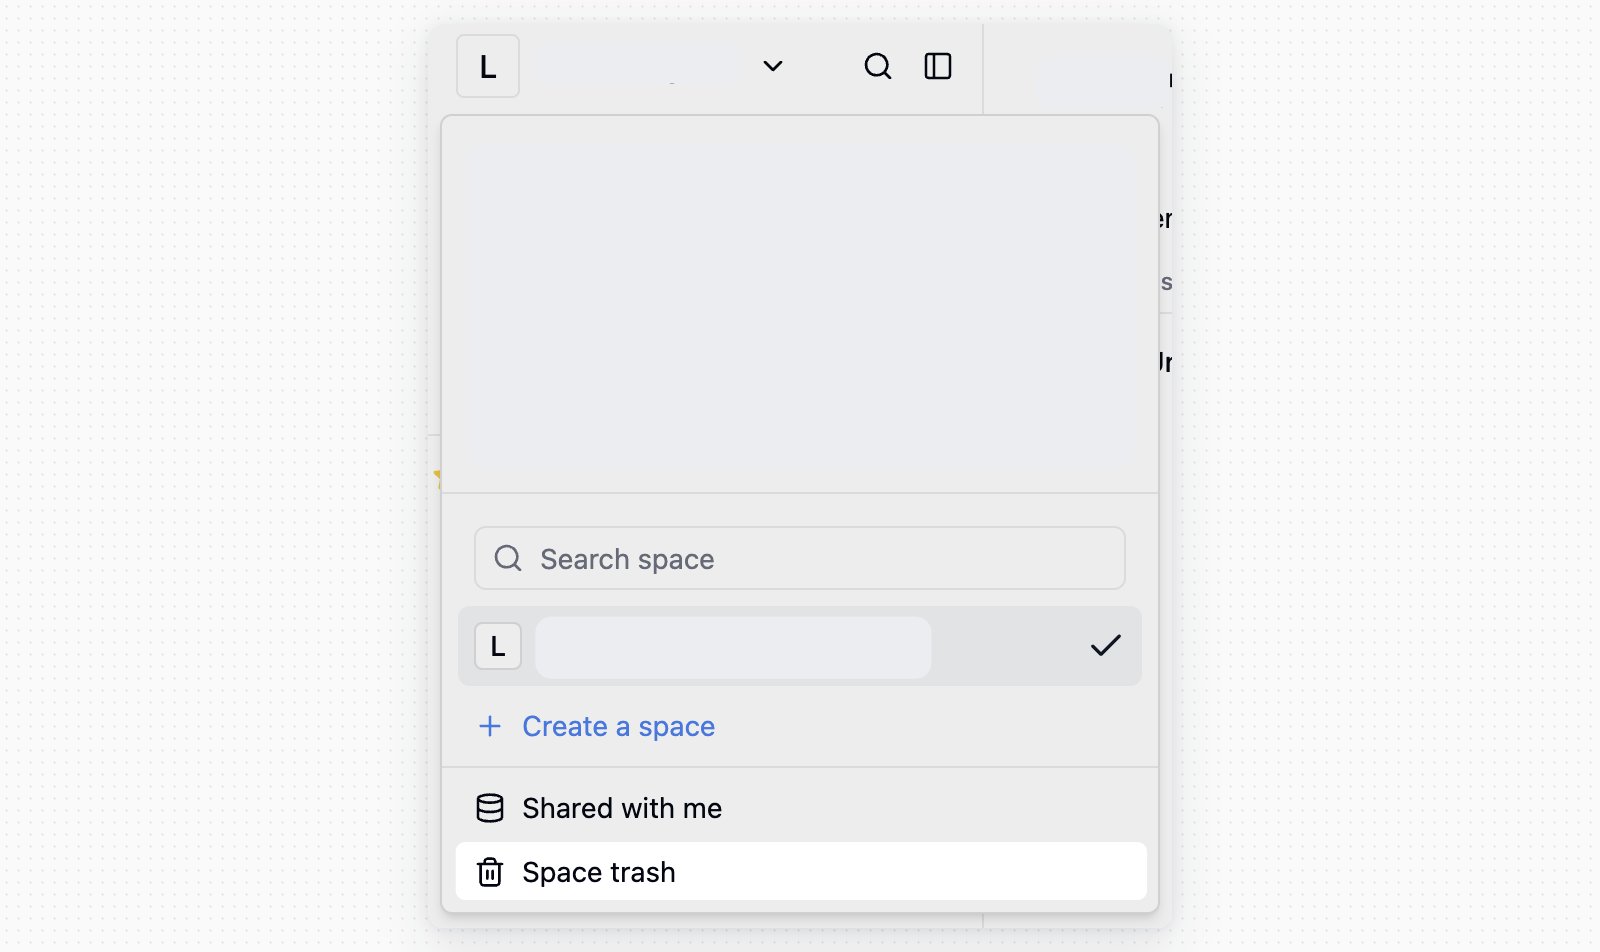
Your Spaces When You Delete Your Account
Open your avatar at the bottom left → Settings → Profile, then click Delete account. The dialog first lists the spaces where you are the only owner; each one needs a decision. Every other space simply loses you as a collaborator and is otherwise untouched.- By default a space goes to trash together with the account, exactly as if you had deleted it yourself.
- When the space has other members, you can hand it to one of them; the handover runs before the account is deleted.
- A space with an active subscription cannot go to trash with the account. Cancel the subscription first, or hand the space to another member.
DELETE as prompted to confirm. A deleted account cannot be restored.
Shared with Me
When someone shares a project with you as a collaborator, the project appears under Shared with me in the space sidebar. Projects shared with you are different from projects in your own spaces:- Access is controlled by the sharer.
- Available actions depend on the project permission you were granted.
- If the sharer removes your access, the project no longer appears.
Space Settings
- Click the ”···” button in the upper right corner of the space to open the space menu
- Click Space Settings