Comments belong to specific records. Team members can discuss issues, add materials, explain why a change was made, and keep context with the data instead of spreading it across chat tools.
 Open any record detail card, then click the Comments icon in the top-right corner to open the side comment panel.
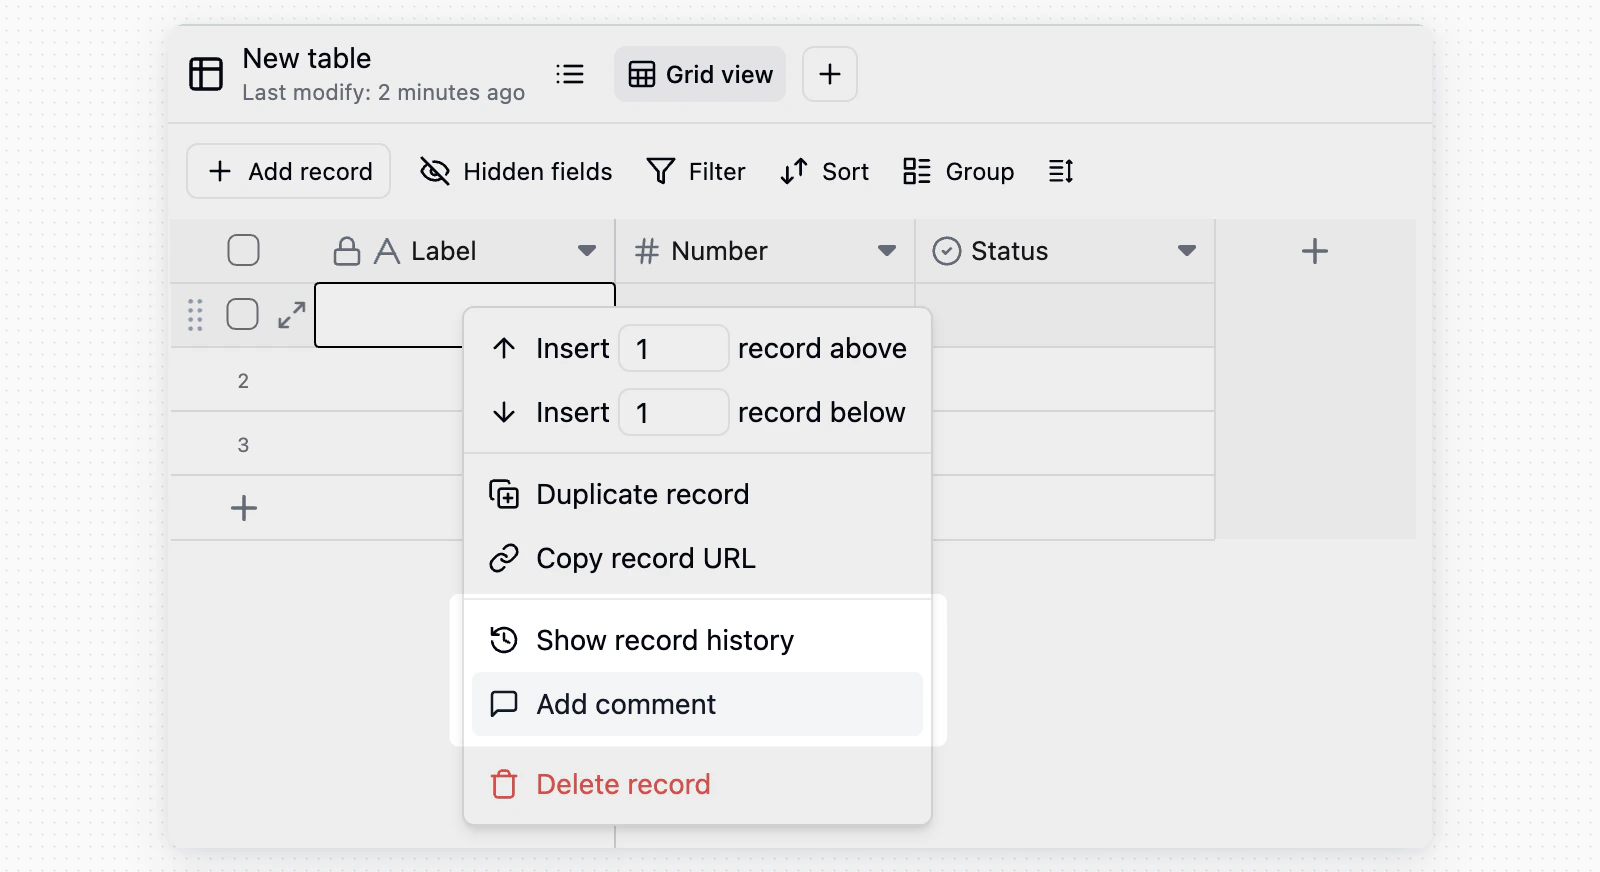 You can also right-click a record in the table view and select Add comment.
Enter content in the comment box and send it. Comments support images and pasted links, which are useful for adding screenshots, references, or external context.
You can also right-click a record in the table view and select Add comment.
Enter content in the comment box and send it. Comments support images and pasted links, which are useful for adding screenshots, references, or external context.

Mention Teammates
Type @, then choose a teammate from the dropdown. The mentioned member receives a notification and can jump directly to the related record.
Reply and React
| Action | Description |
|---|
| Reply | Click Reply below a comment to continue the discussion under that comment |
| React | Click the emoji icon next to a comment to respond quickly |
| Edit | Hover over a comment you sent, then click the action button to edit it |
| Delete | Hover over a comment you sent, then click the action button to delete it |
Notifications and Subscriptions
By default, notifications are sent only when:
- Someone
@ mentions you.
- Someone replies to your comment.
If you want to follow a record closely, click the bell icon in the top-right corner of the comment panel and switch to notifications for all comments.
New comment notifications usually appear in the notification center at the bottom-left corner of the interface. Clicking a notification opens the related record and locates the relevant comment.
Common Scenarios
- Task clarification: @mention a teammate under a requirement or task record to confirm details, with the discussion preserved in the record.
- Approval feedback: Leave revision feedback under reimbursement, contract, or content review records so the requester can act on it directly.
- Change notes: Add a reason after changing important fields so the context is available later.
Last modified on May 26, 2026